If you want to create a custom mortality table based on your 𝑞𝑥 values, it is a simple process to create an age-based table.
1.
Create a
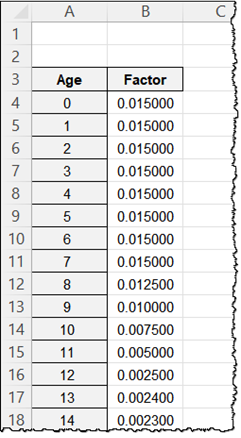
range of 𝑞𝑥 values, this should be in 2
columns, as shown in this example. The final 𝑞𝑥 value should be equal to 1; if
not, then an extra age with will added to the array with a 𝑞𝑥 value of 1.
If you provide just one column, then the first age is assumed to be 0.

2. In any formula that calls for a mortality parameter, you can provide the 𝑞𝑥 values in a range or a reference to the range.
a. If the first 𝑞𝑥 is for age 0, the range can be one column.
b. If the first 𝑞𝑥 is not for age 0, the range should be two columns.
The custom 𝑞𝑥 table can be saved to a file. The instructions
for this continue below.
3. The Select the range of 𝑞𝑥 values, either 1 column (first age zero assumed) or 2 columns.
4.
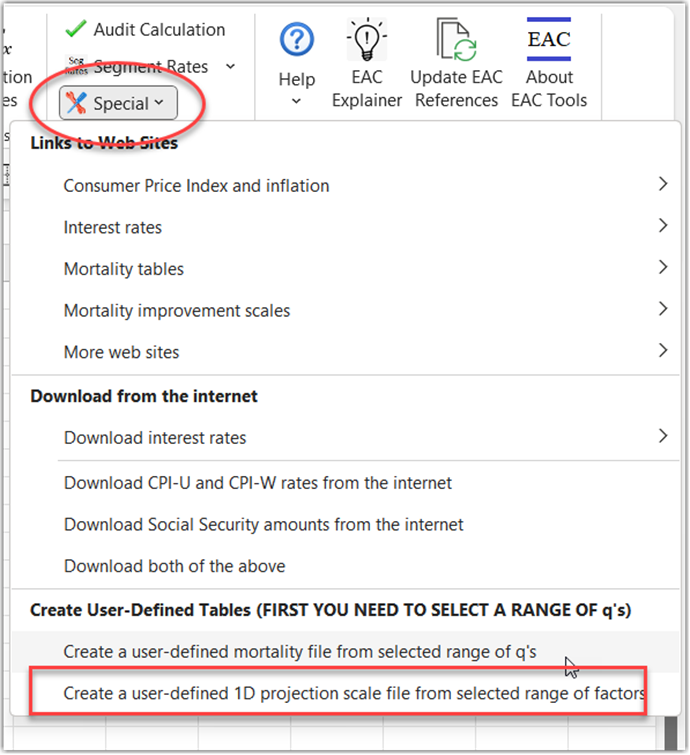
Click “Special,
Create a user-defined mortality file from selected range of q’s”

5.
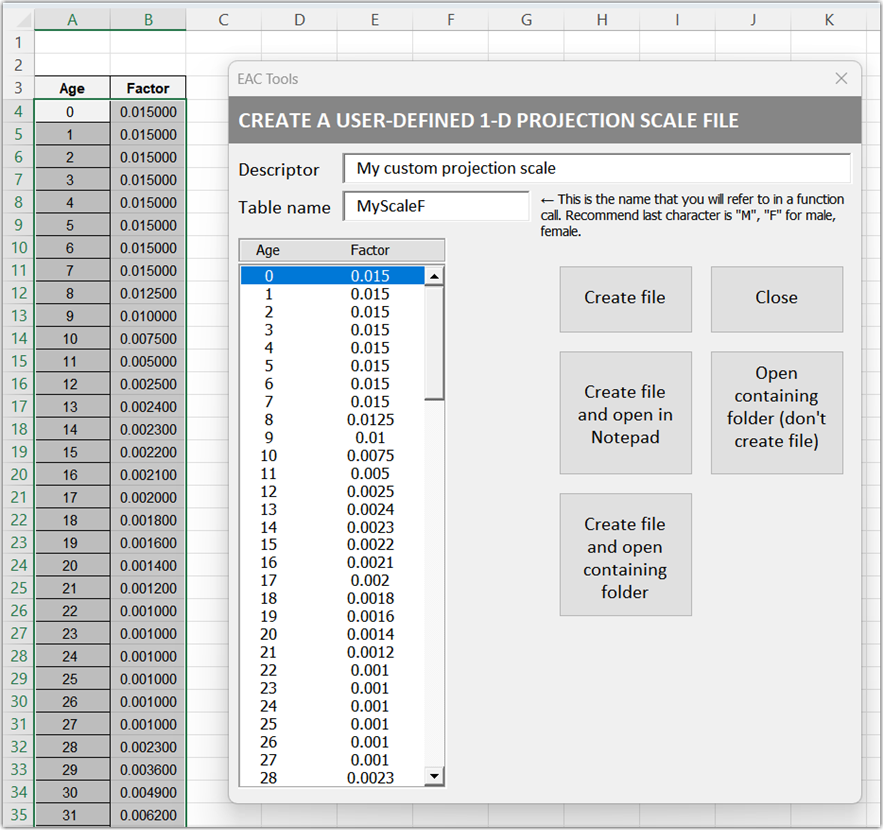
Enter your
table description and name. Click to create the file.

6. The file will be created as a plain text file named “tablename.Q” to indicate that it is a mortality table file. Be sure to share this file with any colleague who will open your workbook that references this table.
7. The file will be created in the folder that contains the eac_pv.xlam add-in file (i.e. C:\Users\Public).
8. Use the table name just as you would use any other built-in table name. Your custom table will appear in the library of tables in the “User-Defined” category.